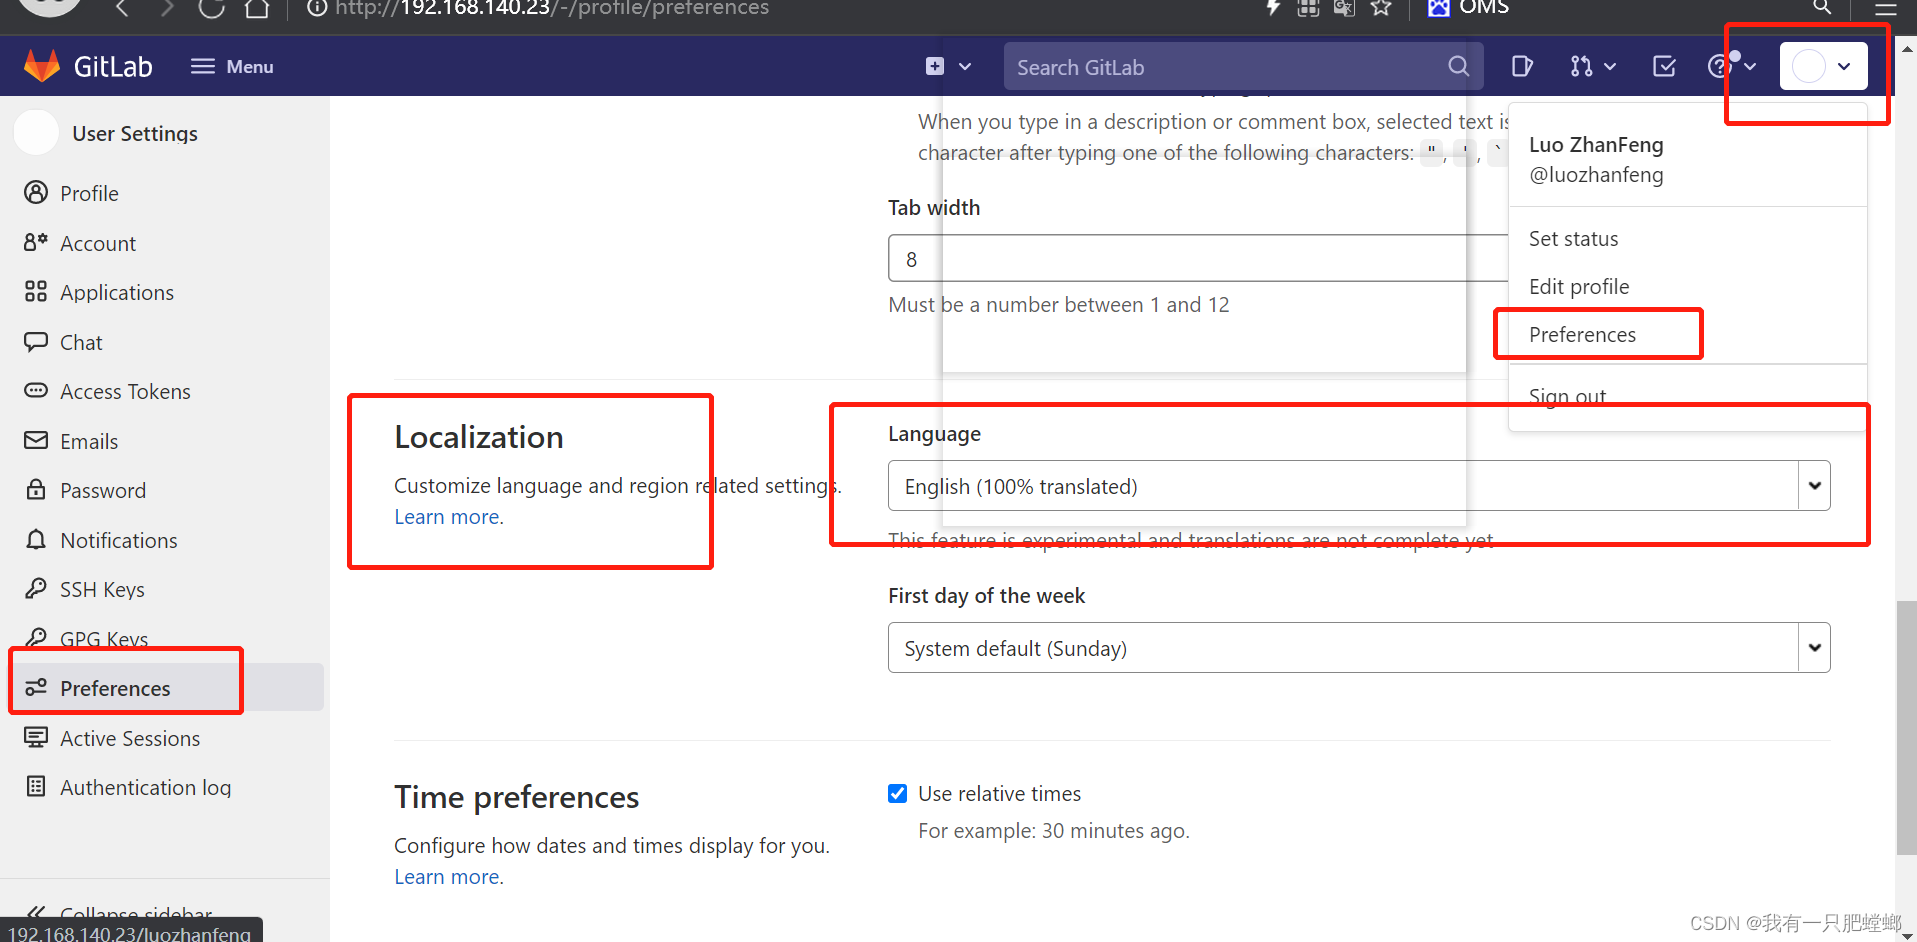
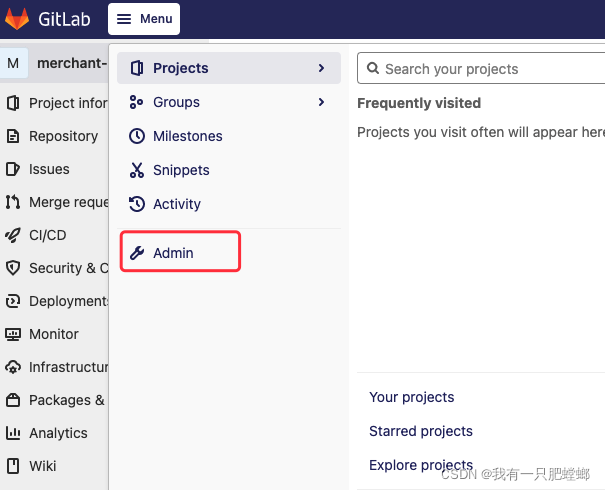
文章目录CentOS7 安装 GitLab首次登录GitLab修改管理员密码设置中文管理员通过账号审核申请删除项目Windows系统Git上传代码至Gitlab仓库CentOS7 安装 GitLab安装sshsudo yum install -y&...
安装ssh
sudo yum install -y curl policycoreutils-pythonopenssh-server1
将SSH服务设置成开机自启动:
sudo systemctl enable sshd1
启动SSH服务
sudo systemctl start sshd1
开启防火墙
service firewalld start1
添加http服务到firewalld,pemmanent表示永久生效,若不加–permanent系统下次启动后就会失效。
sudo firewall-cmd --permanent --add-service=http1
重启防火墙
sudo systemctl reload firewalld1
安装Postfix以发送通知邮件
sudo yum install postfix1
将postfix服务设置成开机自启动
sudo systemctl enable postfix1
启动postfix
sudo systemctl start postfix1
添加YUM-Gitlab源
vim /etc/yum.repos.d/gitlab-ce.repo1
[gitlab-ce] name=Gitlab CE Repository
baseurl=https://mirrors.tuna.tsinghua.edu.cn/gitlab-ce/yum/el$releasever/
gpgcheck=0 enabled=1
yum makecache1
我们选择安装最新版本的Gitlab。
yum install -y gitlab-ce1
可以访问"https://mirrors.tuna.tsinghua.edu.cn/gitlab-ce/yum/el7/"查看Gitlab-ce的版本。 安装历史版本请使用下面命令:
yum install -y gitlab-ce-{VERSION}1修改gitlab配置文件指定服务器ip
vim /etc/gitlab/gitlab.rb1
重置并启动GitLab
 gitlab-ctl reconfigure
 gitlab-ctl restart12
根据之前配置的ip访问就行,默认端口8080
管理员账号为root
密码保存在配置文件内
cat /etc/gitlab/initial_root_password1

进入 GitLab 控制台
GitLab 版本不同,命令会有所不同(网上说的而基本都是gitlab-rails console production ),推荐大家直接上 GitLab 官网去找对应版本的命令
gitlab-rails console -e production1
进入控制台后,执行下面命令,此 user 则表示 root 用户
user = User.where(id: 1).first1
修改密码,确认密码
user.password = 'secret_pass'user.password_confirmation = 'secret_pass'12
保存密码
user.save!1
退出控制台
exit1
如下图所示


来源:本文内容搜集或转自各大网络平台,并已注明来源、出处,如果转载侵犯您的版权或非授权发布,请联系小编,我们会及时审核处理。
声明:江苏教育黄页对文中观点保持中立,对所包含内容的准确性、可靠性或者完整性不提供任何明示或暗示的保证,不对文章观点负责,仅作分享之用,文章版权及插图属于原作者。
Copyright©2013-2024 JSedu114 All Rights Reserved. 江苏教育信息综合发布查询平台保留所有权利
![]() 苏公网安备32010402000125
苏ICP备14051488号-3技术支持:南京博盛蓝睿网络科技有限公司
苏公网安备32010402000125
苏ICP备14051488号-3技术支持:南京博盛蓝睿网络科技有限公司
南京思必达教育科技有限公司版权所有 百度统计